Analog Forever Magazine Feature (Polaroid Week - Fall 2021: Our Top 20 Favorites!)


Screen Dump Copyright Analog forever Magazine


One of my Polaroid Type 55 Negatives was picket for the Polaroid Week - Fall 2021:Our Top 20 Favorites!

Thanks to Michael Behlen and the rest of Analog Forever Magazine crew for reaching out and featuring one of my photographs for your online post.

Check out the website her www.analogforevermagazine.com

If you are lookin to support my work an would like to get a signed print visit my webshop.

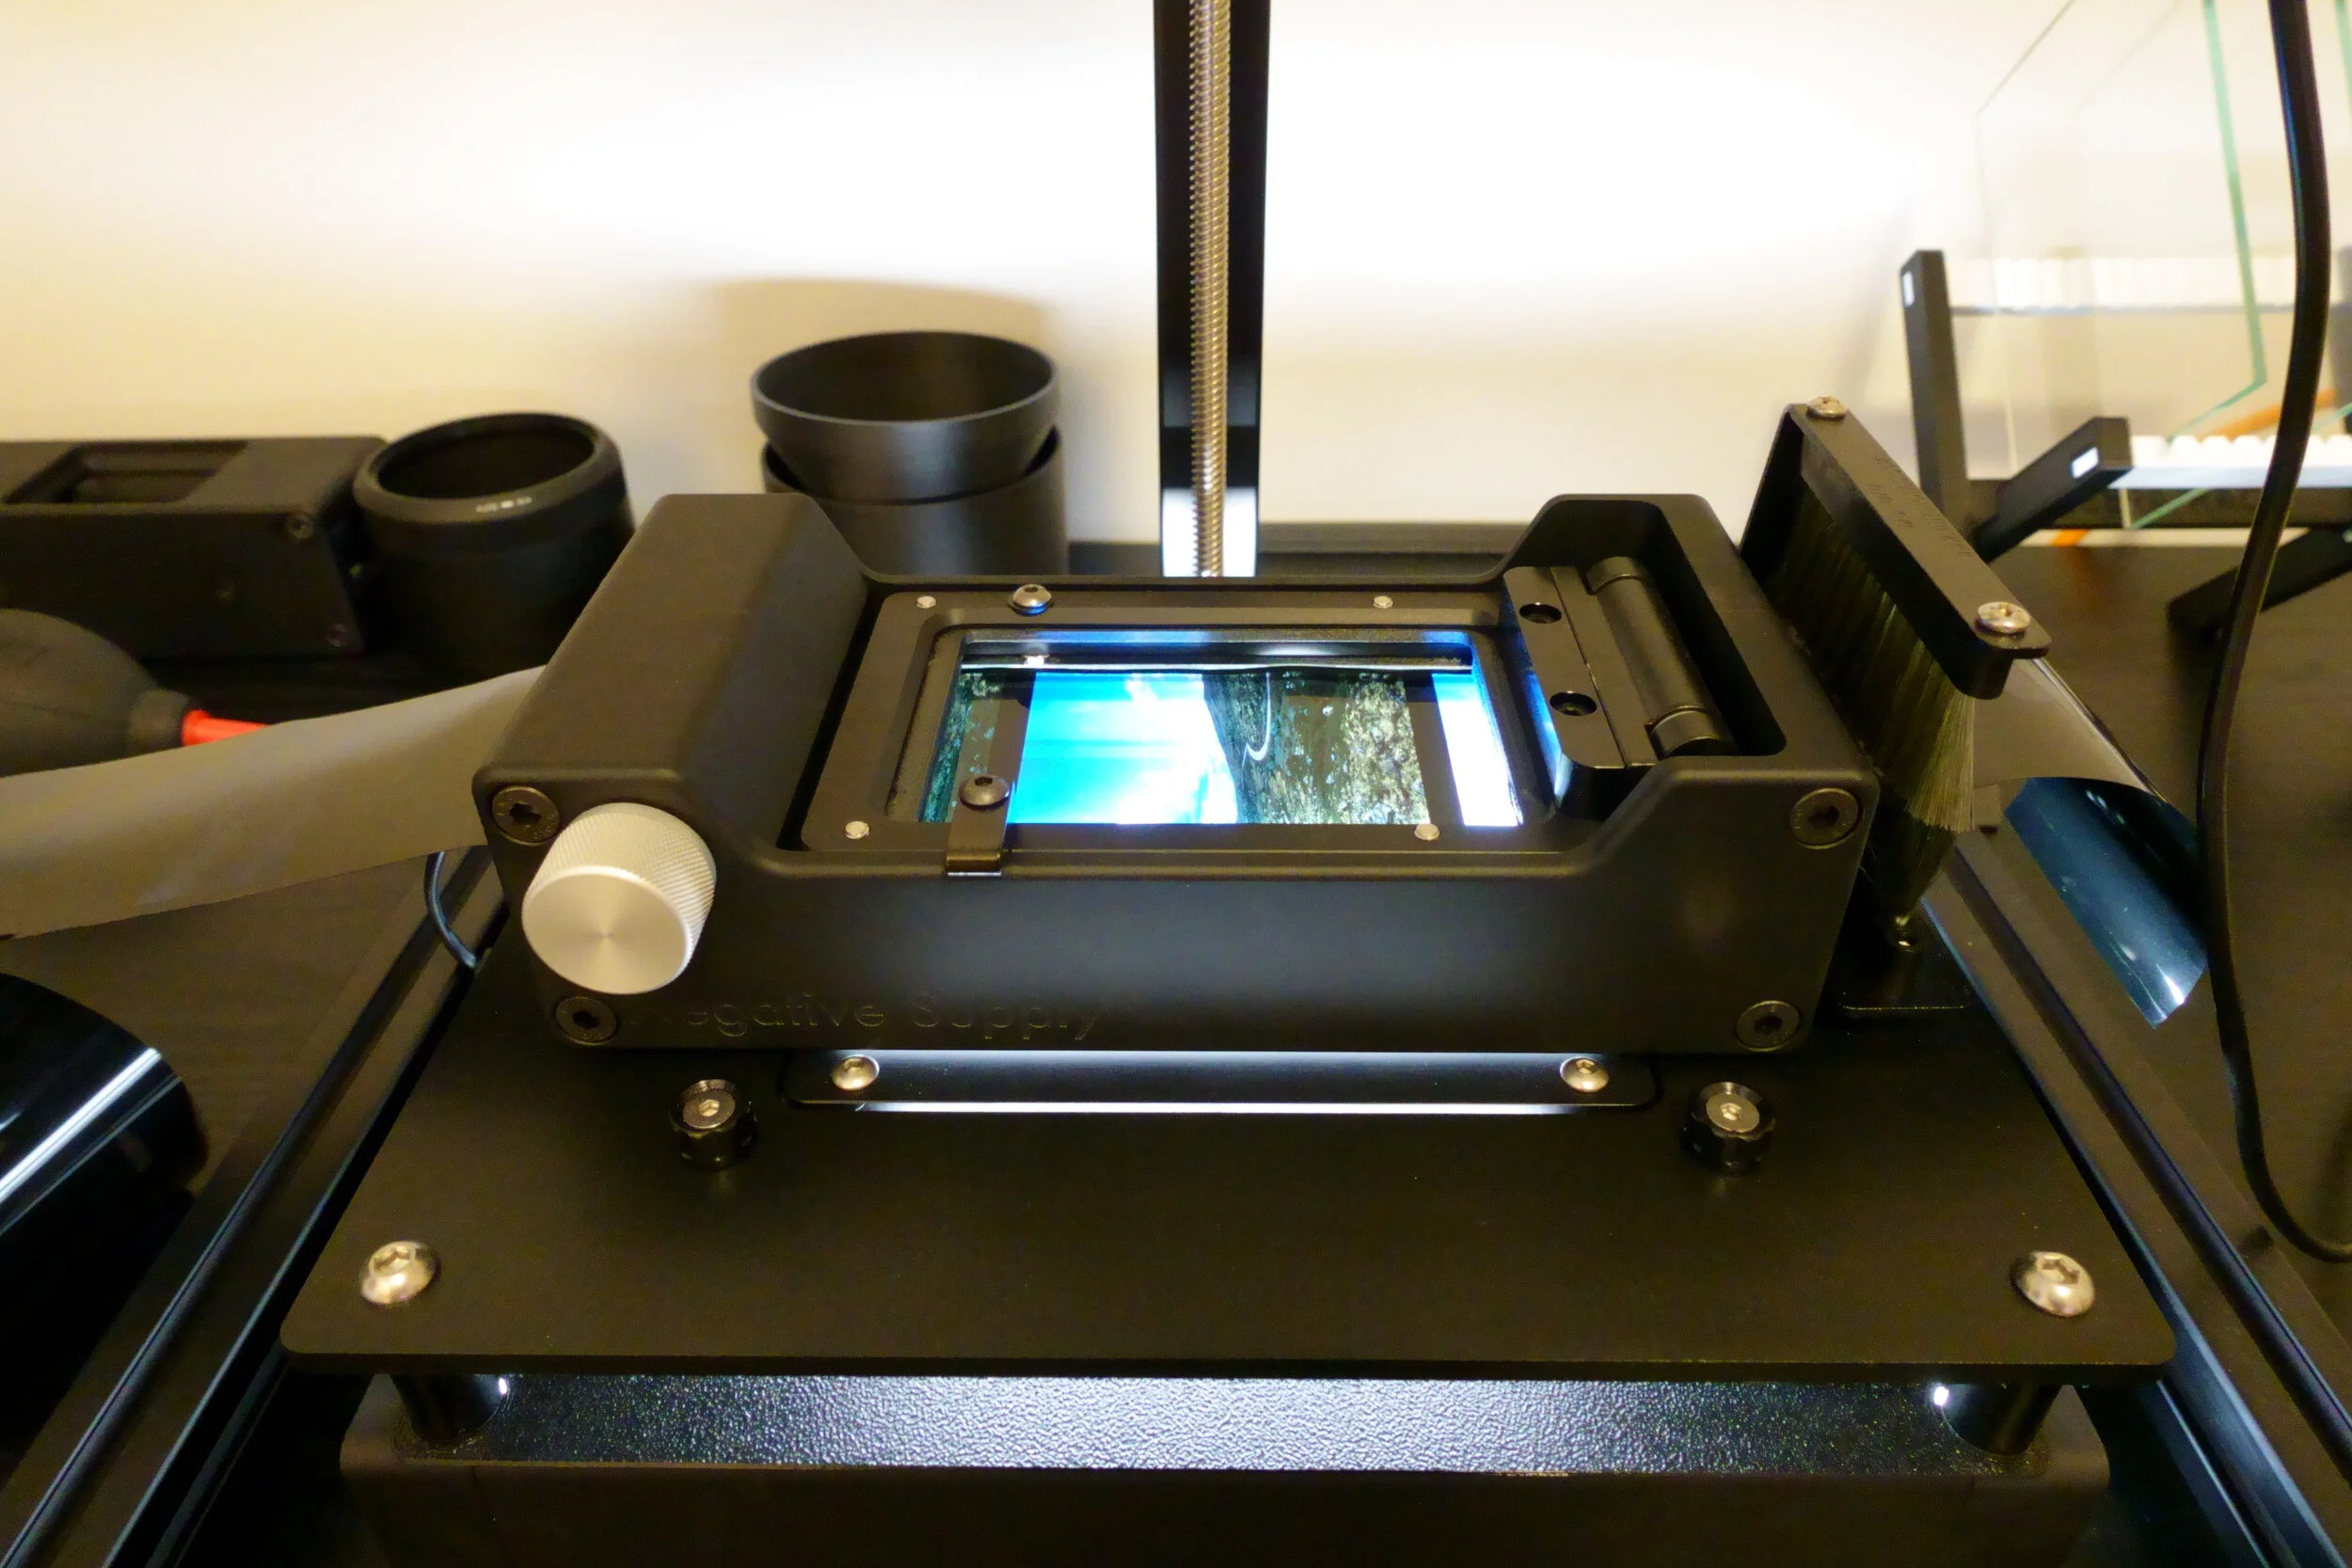
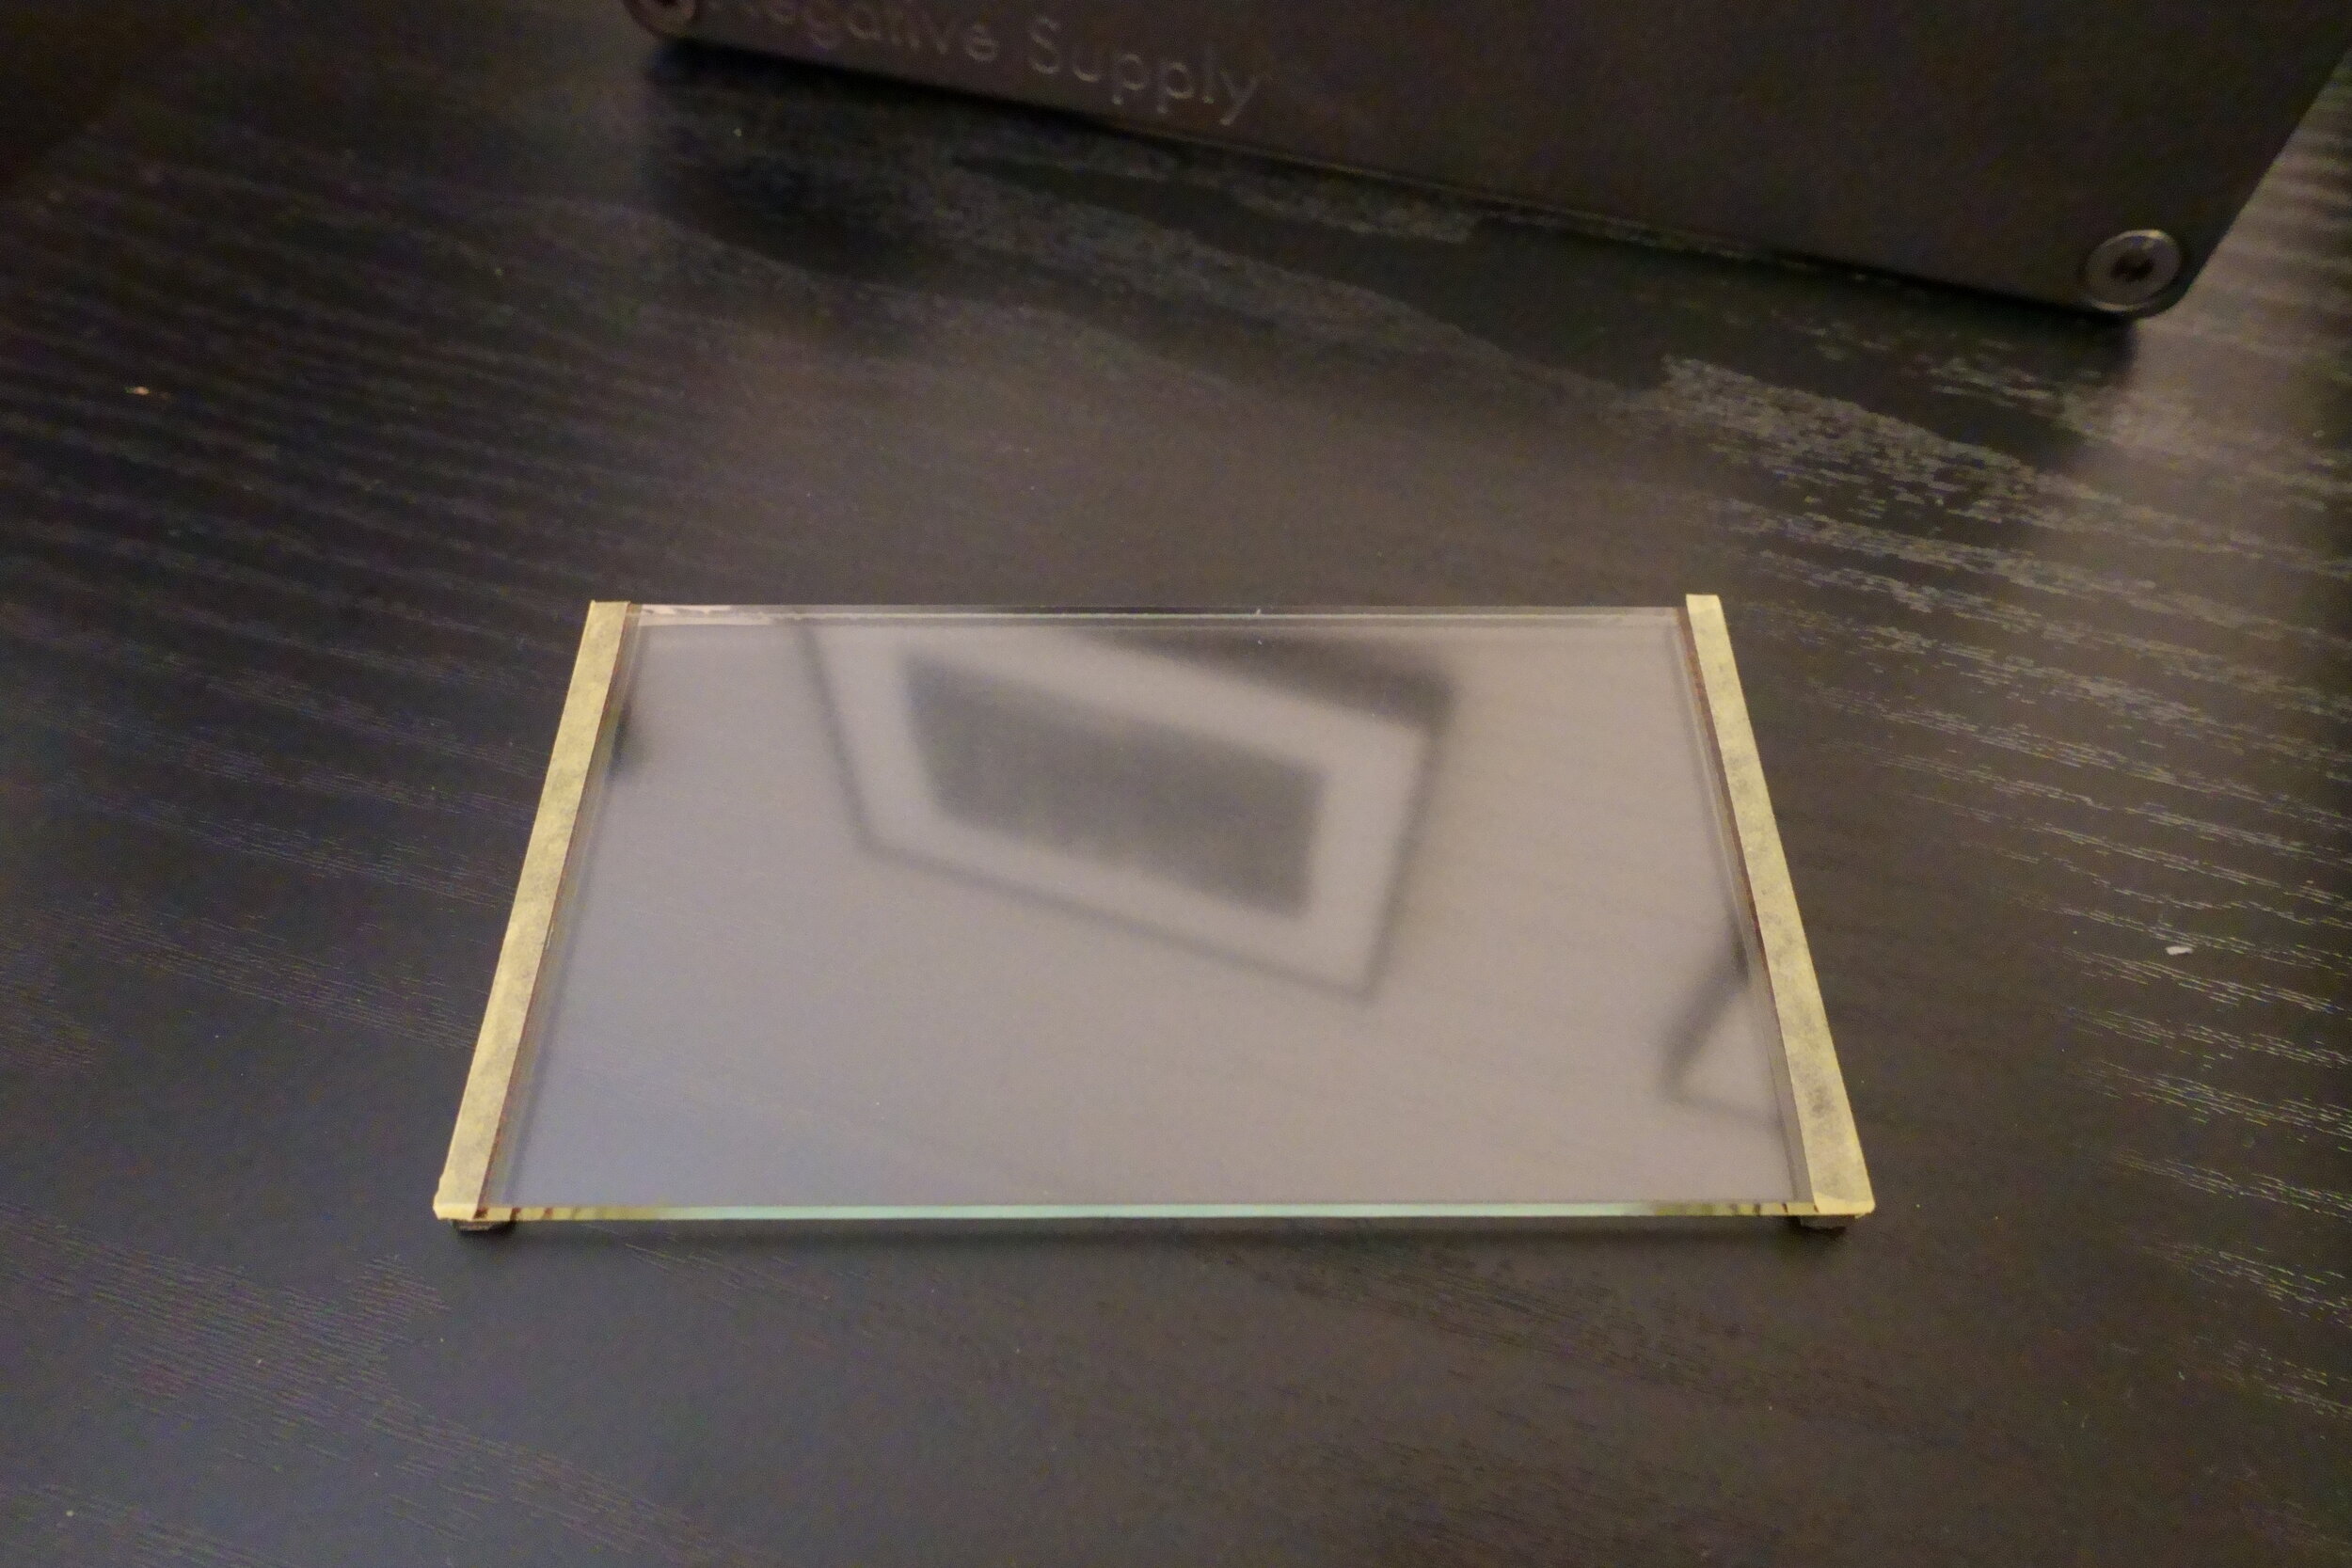
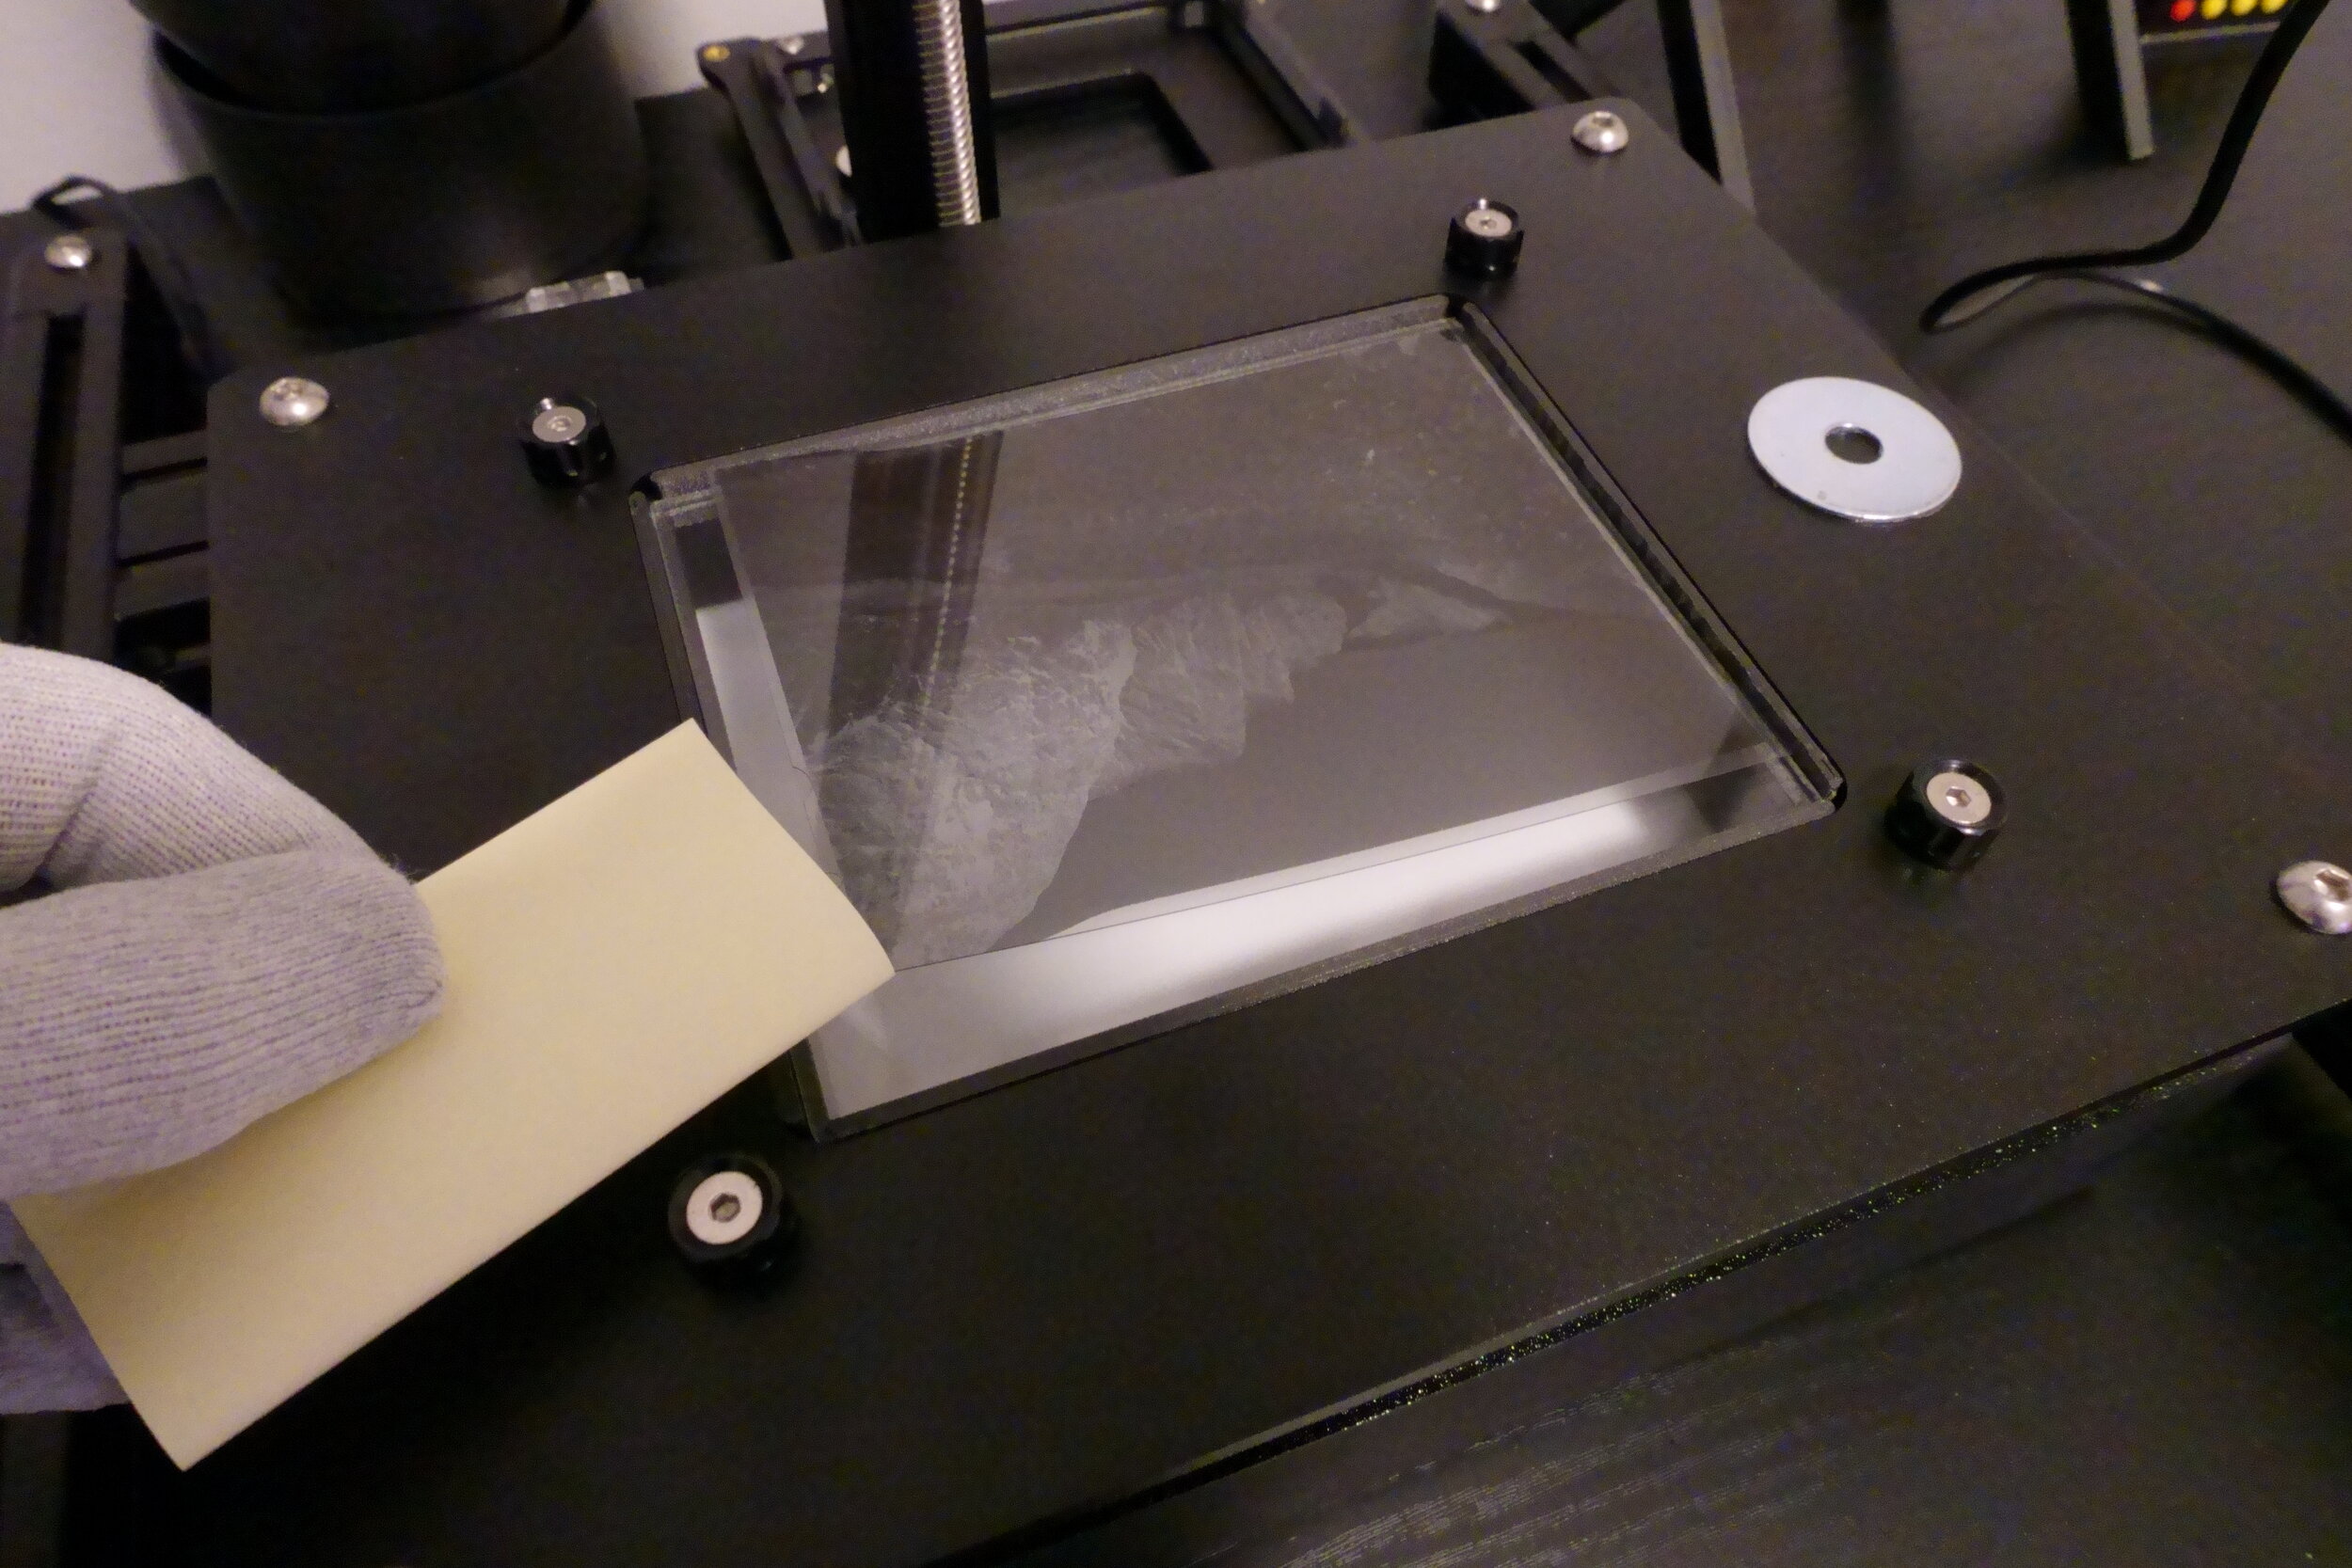
- Film Used: Polaroid Type 55

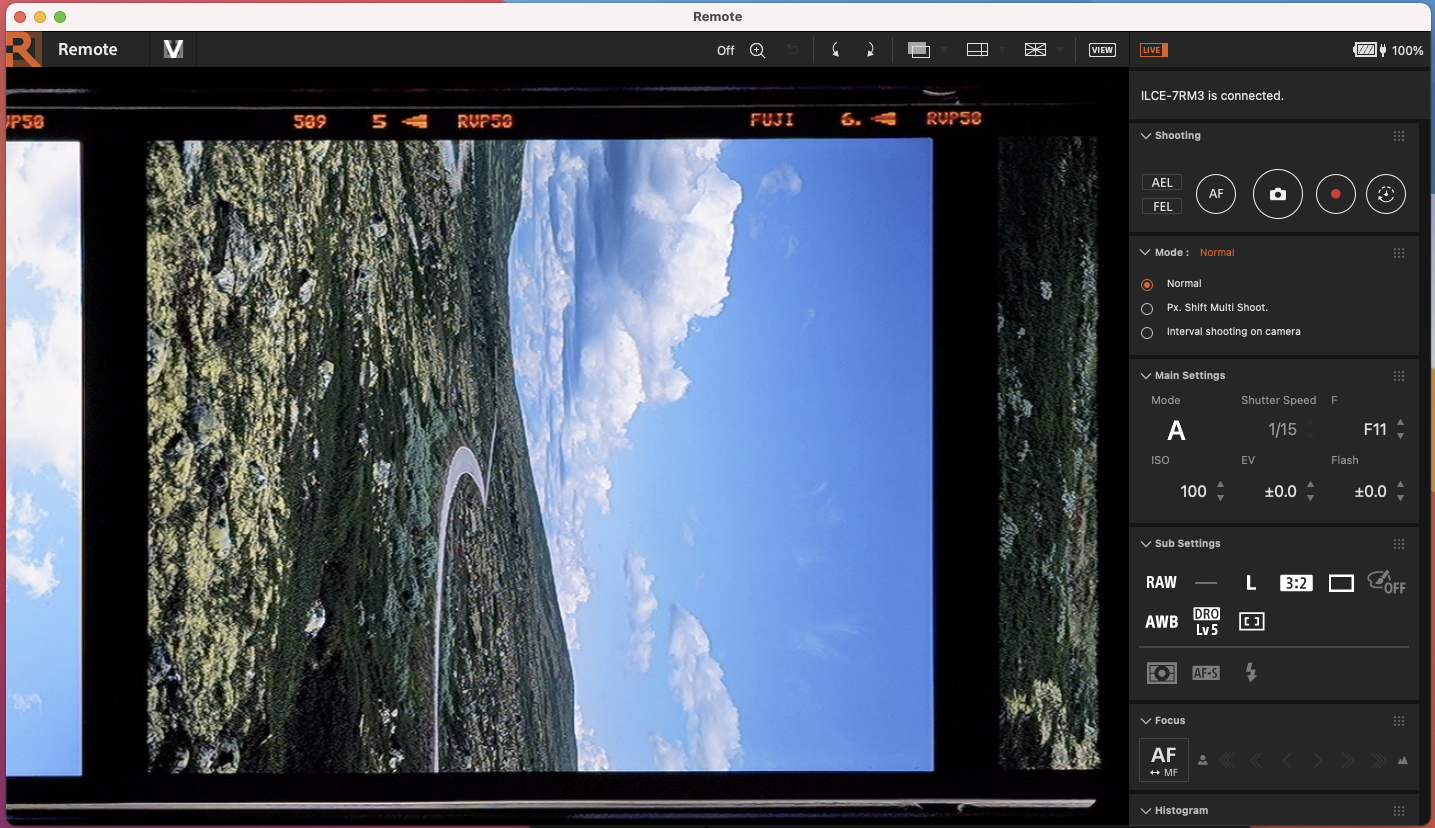
- Camera Used: Chamonix View Camera 45F-2; Nikon Nikkor-W 210mm 1:5.6

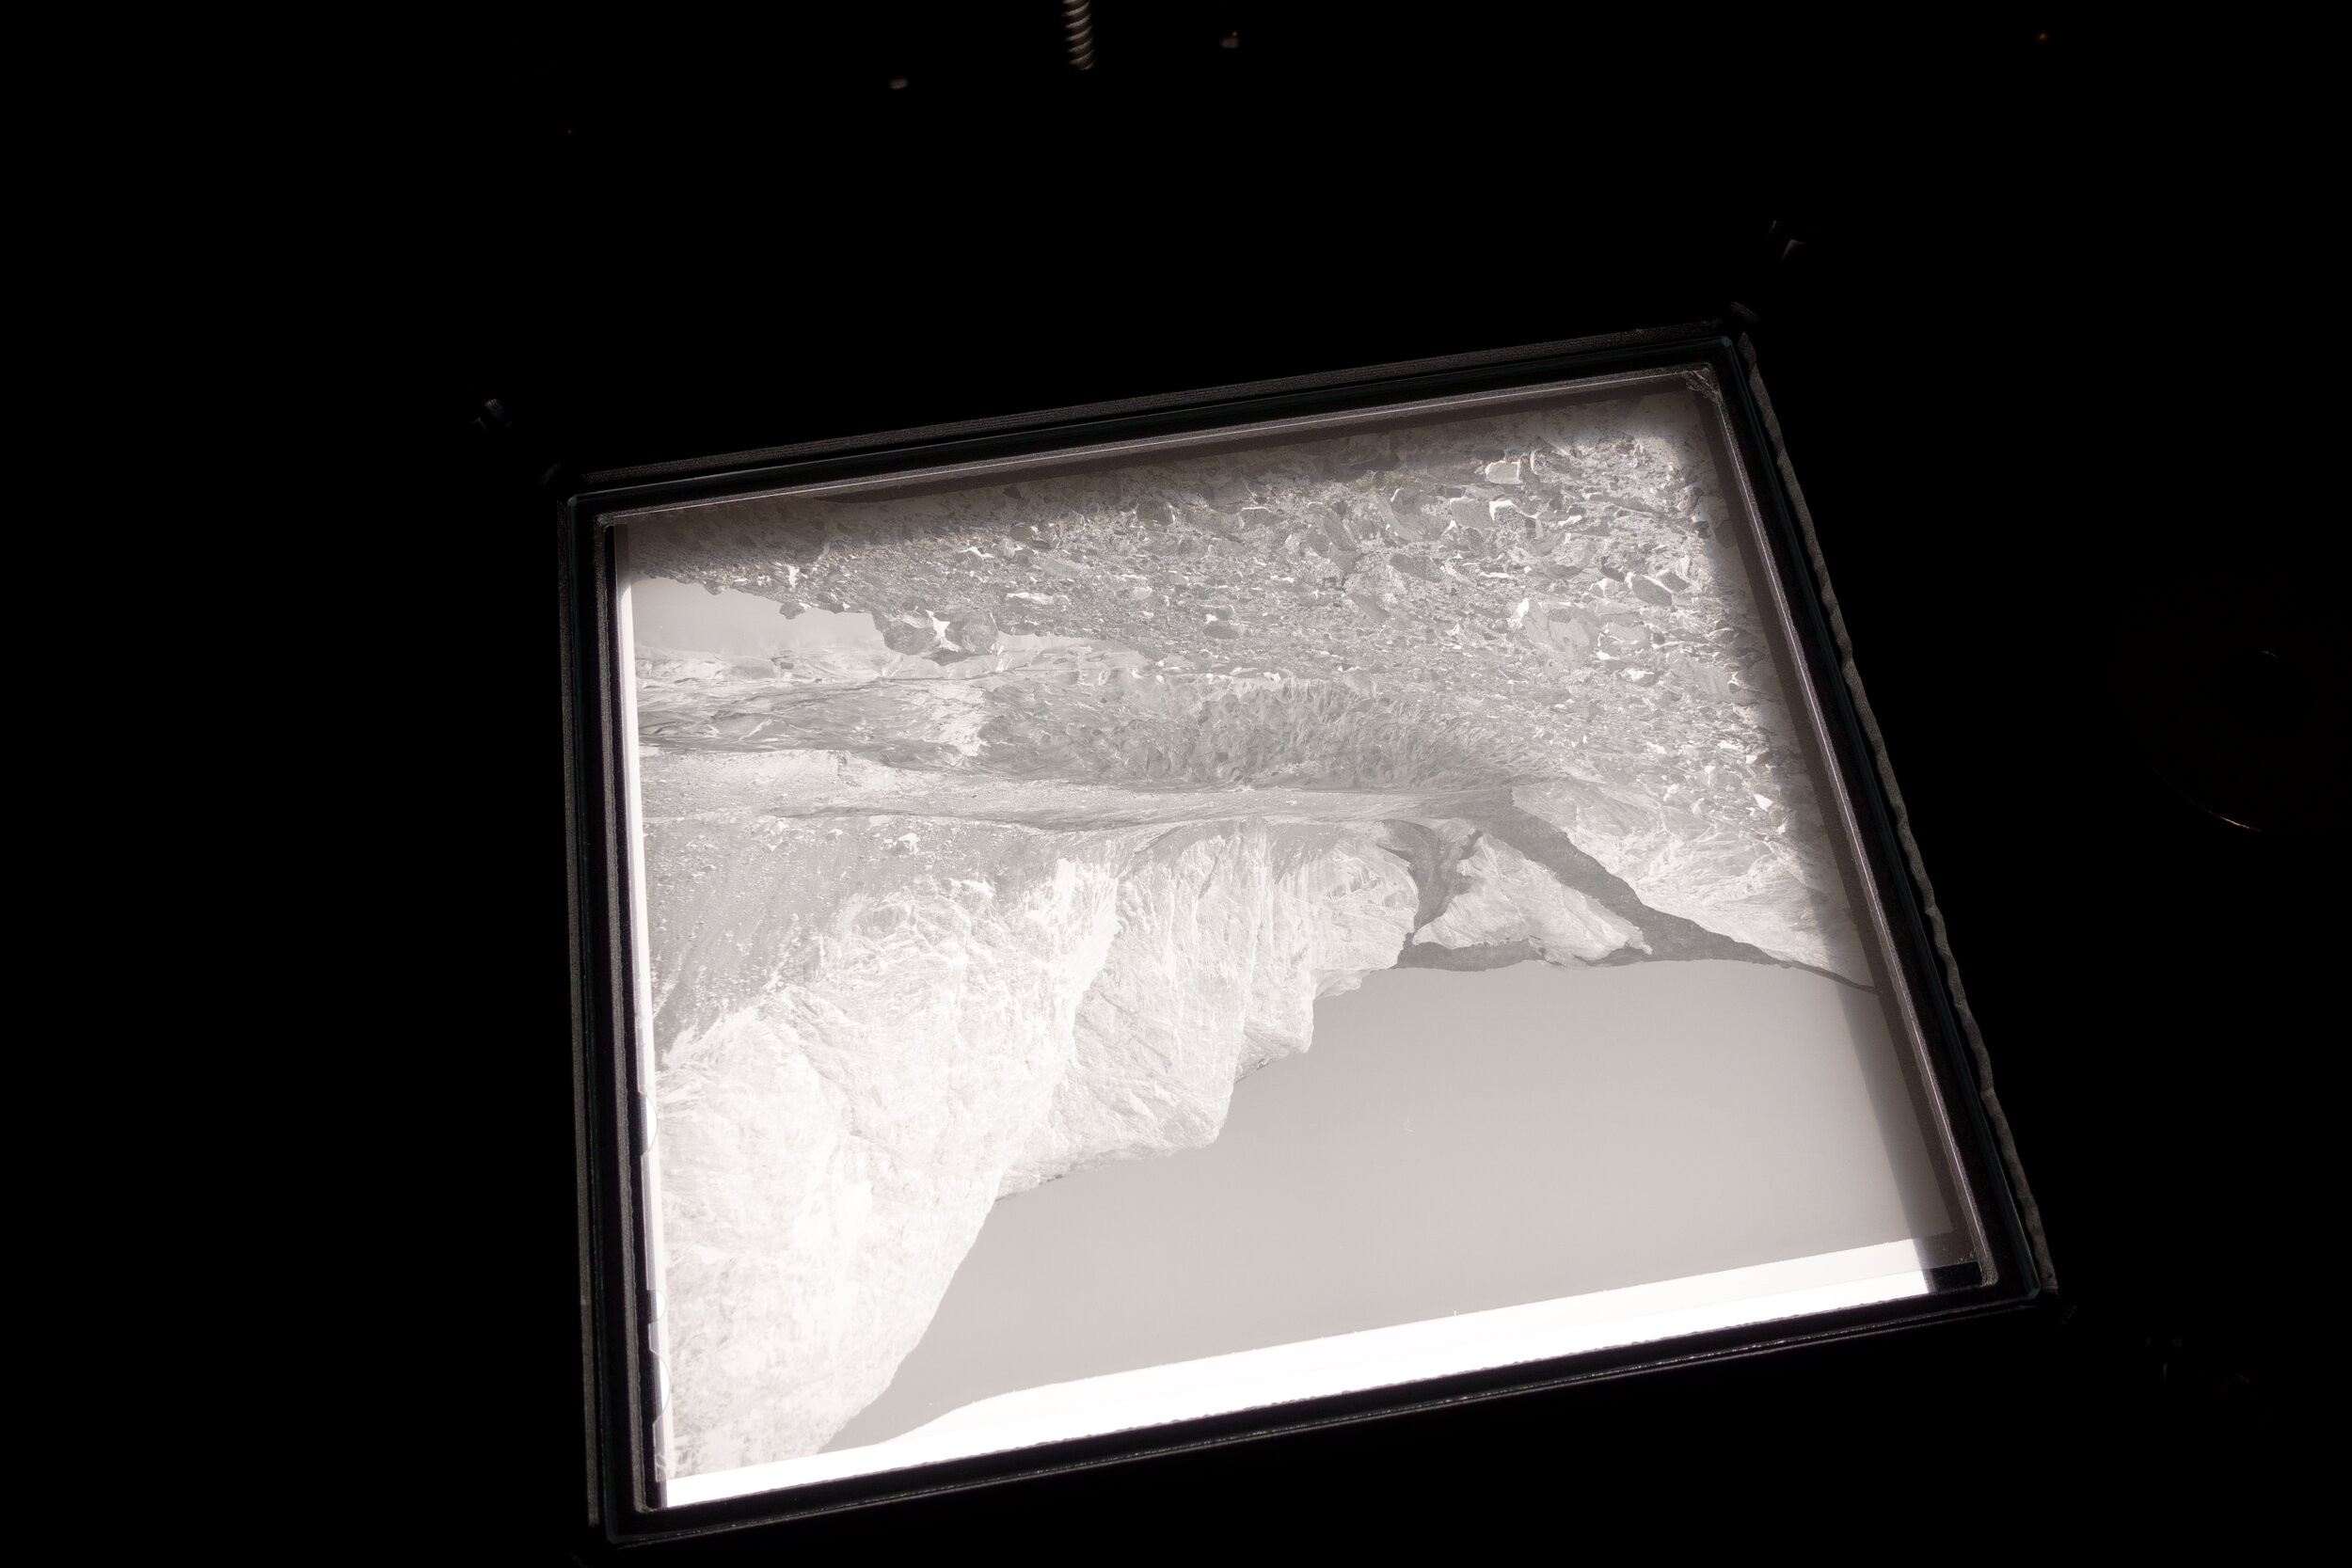
- Image Title: "Storfossen" Large waterfall


Print Shop


Skjermbilde 2021-10-17 kl. 13.17.40.png

Finally i am able to provide Fineart inkjet prints on my webpage.

All prints are made on a Epson Stylus Photo R3000, and Printed on Hahnemühle Photo Rag Bright White Matt Fineart Inkjet Paper. Coated with Hahnemühle Protective Spray.

I will be able to provide print size up to A3+: 329 mm x 483 mm (aprox 12,95 x 19 inch).

Currently working on the behind the scenes setup, pricing, shipping options and packaging before items are available. More items will be added shortly. Framed Prints will also be available in a while.

If you have any specific request on prints that are not available on the print shop please contact me thru the about page or Instagram.

_DSC0132.JPG
_DSC0133.JPG
_DSC0137.JPG
_DSC0144.JPG
_DSC0145.JPG

DSLR Scanning with Negative Supply Gear (4x5" color Negative update)


In my original blogpost on using Negative Supply Gear I made a note on the issue of vignetting and light falloff specific to converting 4x5” Color negatives using my setup with a 70mm Sigma Macro lens. Shooting the entire 4X5” as one exposure.

“ I wonder if another lens like a 50mm macro will improve this as the lens is closer to the negative, or maybe shooting multiple closeups and stitching will make this better ? ”

And yes taking multiple close up photos and stitching will massivly improve this issue.

70mm Sigma Macro lens Shooting the entire 4X5” as one exposure.Kodak Portra 400 4X5” Converted in Negative Lab Pro (flat profile, unedited)The film is showing some falloff in light and color shift in the corners after the NLP converting.

70mm Sigma Macro lens Shooting the entire 4X5” as one exposure.

Kodak Portra 400 4X5” Converted in Negative Lab Pro (flat profile, unedited)

The film is showing some falloff in light and color shift in the corners after the NLP converting.


So I changed my prosess of digitizing 4X5” Color negatives. I am now photographing the 4X5” color negative as 4 images with the 70mm Macro lens closer to the subject. Then Stitching the Negative in Lightroom Classic CC with the panorama photo merge utility.

Kienzle ANR on the Negative Supply Light Source pro 5x7

Kienzle ANR on the Negative Supply Light Source pro 5x7

Sony Tethered Shooting

Sony Tethered Shooting

After the 4 images is taken then import to Lightroom Classic CC and use the Panorama merge to stitch the 4 pictures.

Skjermbilde 2021-10-09 kl. 21.22.32.png

Make sure to enable the Lens Correction on the stitched image.

Lens Profile.jpg

Then Convert the Image in Negative Lab Pro.

Kodak Portra 400 4X5” Converted in Negative Lab Pro (flat profile, unedited)

Kodak Portra 400 4X5” Converted in Negative Lab Pro (flat profile, unedited)

The result on this new process, Stitching 4 closeups of the 4x5” Color Negative is now showing no falloff in light and color shift in the corners after the NLP converting.

70mm Sigma Macro lens Shooting the  4X5” negative as 4 exposure and stitching in Lightroom.Kodak Portra 400 4X5” Converted in Negative Lab Pro (flat profile, unedited)The film is showing no falloff in light and color shift in the corners after the NLP converting.

70mm Sigma Macro lens Shooting the 4X5” negative as 4 exposure and stitching in Lightroom.

Kodak Portra 400 4X5” Converted in Negative Lab Pro (flat profile, unedited)

The film is showing no falloff in light and color shift in the corners after the NLP converting.

Edited in Lightroom Classic CC (.tiff file)

Edited in Lightroom Classic CC (.tiff file)

This will now be my new method going forward. I does take more time to take 4 images of each 4x5” but the results are much better.

DSLR Scanning with Negative Supply Gear


PRO KIT FOR 35MM, 120, AND 4X5 SCANNING (WITH 5X7 LIGHT SOURCE PRO)

PRO KIT FOR 35MM, 120, AND 4X5 SCANNING (WITH 5X7 LIGHT SOURCE PRO)

Prior to investing in this DSLR scanning setup I have been using the Epson V700 with the 35mm, 120 and 4X5" holders from the V800 series. Inn addition to this i have the Epson Fluid mount for 4X5". The Epson is actually quite good at scanning 120 and 4x5" but very time consuming. It is generally not very useful at 35mm in my opinion. I am still using my Epson for Polaroid prints, and some “tricky” 4x5” color negatives that has issue in the Negative conversion.

To improve the process of digitization, I have been considering DSLR scanning for some time. Although there are other options out there at a much lower price point I chose Negative Supply as it has a complete ecosystem from 35mm, 120 and up to 4x5".

I will share the good and bad experiences to be as transparent as possible in my assessment.

This post does not cover the process of converting/editing negatives/slides but I have added some notes on the 4x5” conversion process.


The Gear

PRO KIT FOR 35MM, 120, AND 4X5 SCANNING (WITH 5X7 LIGHT SOURCE PRO)

This pro film scanning kit includes:

  • Film Carrier MK1 for 35mm Scanning

  • Film Carrier 120 for Medium Format Scanning

  • 5x7 Light Source Pro (99 CRI)

  • Pro Riser MK2 with precision leveling feet

  • Pro Mount MK2 with Anti-Static Dust Removal Brush

  • Pro Mount MK2 Adapter Plates for Film Carrier MK1 and Film Carrier 120

  • 4x5 Film Holder w/ 2 Sheets micro-etched acrylic

  • Mounted Slide Holder MK2

  • Film Carrier MK1 Full Border Scanning Guides

I added the following accessories:

  • Film Carrier 120 Full Border Scanning Guide

  • 4x5” ANR Glass.

    • Custom cut at Knight optical in the UK. More on this later.

  • 220x300x3 mm ANR Glass.

    • Kienzle ANR.

  • Anti Static Brush

  • Film Carrier hood for 35mm

Camera/lens and other accessories:

  • Sony A7r III

  • Sigma 70mm F2,8 Art Macro

  • Tetherpro USB C cable

  • Analog and digital Level

Software:

  • Negative Lab Pro plugin for Lightroom Classic

  • Sony Image Edge Desktop for Remote Tethering


Review:

  • Pro Riser/Mount MK2 with precision leveling feet

_DSC0069.JPG

The Pro Riser (Copy stand) fits esthetically to the other Negative Supply Hardware. As soon as you have mounted the Camera to the copy stand it will need adjusting with the leveling feet.

Mount the camera to the Pro Riser using the supplied mount.

_DSC0074.JPG
_DSC0075.JPG
_DSC0076.JPG
_DSC0077.JPG

Level the Pro Mount with a Bubble level/Digital Protractor by adjusting the 4 leveling feet on each corner.

Pro Mount MK2

Pro Mount MK2

Pro Mount MK2

Pro Mount MK2

Add your Level to the camera and Adjust the leveling feet on the Pro Riser (Copy Stand)

_DSC0056.JPG
Pro Riser MK2 with precision leveling feet

Pro Riser MK2 with precision leveling feet

The amount of adjusting to the leveling feet was much more than I expected. But the way the column and the camera is mounted to the copy stand it will never be perpendicular. I find adjusting the leveling feet from the bottom of the Riser to be very cumbersome. I wish it was possible to adjust from the topp. But this is normally a one time adjustment and not a generic issue.

The thing that I find a more of an issue is the lack of marking on the column. So if you often switch between 35mm, 120 and 4x5” you do not know where to position the camera. It will require numerous attempts to find the correct hight with refocusing every time. To improve this I have added some masking tape for the lower and upper position for the 35mm, 4x5” with the combination of the Sigma 70mm Macro lens.

A 90mm macro will most likely not work on this column for 4X5” film with the camera at the upper position

  • Pro Mount MK2 with Adapter Plates

The kit comes with the Pro Mount with adapter plates for 35mm, 120 and 4x5” and is easily mounted with the 4 screws.

Pro Mount added to the 5x7 light source pro

Pro Mount added to the 5x7 light source pro

Adapter plate to correctly align the Mount to the light source.

Adapter plate to correctly align the Mount to the light source.

35mm Adapter plate

35mm Adapter plate

120 Adapter Plate

120 Adapter Plate

4x5” Adapter Plate

4x5” Adapter Plate

Pro Mount with 4x5” adapter Plate mounted

Pro Mount with 4x5” adapter Plate mounted

  • Film Carrier MK1 for 35mm Scanning

Film Carrier MK1 for 35mm

Film Carrier MK1 for 35mm

This is probably the hardware that works flawlessly with no issues at all. I use it with the full border guides. I think you need a minimum off 4 frames on the film to make it work in the holder. I do recommend scanning with uncut film as this will make the digitizing prosess super fast. The antistatic brush will remove almost all dust. The magnetic grove in the carrier holds it in place on the Pro Mount with the adapter.

_DSC0062.JPG
_DSC0064.JPG
_DSC0068.JPG
_DSC0069.JPG

A small note on scanning 35mm. The Kit comes with a slide mount holder. It will fit the same magnetic adapter on the 35mm holder.

Mounted slide film holder.

Mounted slide film holder.

Sony Tethered Shooting

Sony Tethered Shooting

  • Negatives converted in Negative Lab Pro.

  • Crop & straighten, Spot Removal, Presence and Sharpening in Adobe Lightroom CC Classic

35mm

35mm

35mm

35mm

35mm

35mm

35mm

35mm

35mm

35mm


  • Film Carrier 120 for Medium Format Scanning

_DSC0085.JPG

The 120 film carrier it will be aligned in place with the grooves in the adapter plate. I think you need a minimum off 3 frames on the film to make it work in the holder. I do recommend scanning with uncut film as this will make the digitizing prosess super fast. The unit is supplied with borders from 6x4,5 up to 6x9. I use it with the full border guides. At time of purchase it was not available at Negative supply so I had to find it at one of negative supplies retail partners.

Film Border adapters

Film Border adapters

_DSC0093.JPG

To be able to scan with film borders you will probably need to purchase the Film Carrier 120 Full Border Scanning Guide. It is a piece of Anti Newton guide glass with som 3d printed details on the bottom of the glass.

I did find that loading film with the full border guide to be a little difficult. Often you need to manually lift the film over the glass to be able to get the film in to the holder. also the Anti newton glass will scratch the edge border of the film (but not the frame itself) due to the sharp corners of the glass, so I had to add some masking tape on each end of the glass. This solved the scratching issue.

Anti newton glass with added masking Tape

Anti newton glass with added masking Tape

Film Carrier 120 Full Border Scanning Guide

Film Carrier 120 Full Border Scanning Guide

Curled film will often need som “help” to clear the Anti Newton glass before you can guide it over the Anti Newton glass.

Curled film will often need som “help” to clear the Anti Newton glass before you can guide it over the Anti Newton glass.

_DSC0081.JPG
_DSC0086.JPG

You will need to lift up the magnetic holder for each frame advance, but the digitizing process is very fast.

Sony Tethered Shooting

Sony Tethered Shooting

  • Negatives converted in Negative Lab Pro.

  • Crop & straighten, Spot Removal, Presence and Sharpening in Adobe Lightroom CC Classic

120 DSLR Scan

120 DSLR Scan

120 DSLR Scan

120 DSLR Scan

120 DSLR Scan

120 DSLR Scan

120 DSLR Scan

120 DSLR Scan


  • 4x5 Film Holder

4x5 Film Holder with Anti-Newton glass plate from Knight Optical

4x5 Film Holder with Anti-Newton glass plate from Knight Optical

The negative supply 4x5 Film holder is designed to digitize the hole 4X5” film at once. it is suplied with 2 pieces of micro etched acrylic. The acrylic is placed in the 4x5 holder and the idea is that you can place the other acrylic on top of the other to achieve flat sheet film when you have curled sheets of 4x5 film. Although here is the first problem with the acrylic, it is not entirely flat so the hole purpose is not applicable. The other issue with the acrylic plates is that it collect dust very easy and is a bit hard to clean, as a result Negative supply has an option for Anti Newton glass plates. When this post was written the ANR glass has been on backorder for some 7+ months. Actually I was able to purchase some custom cut ANR glass from UK based company (Knight Optical). I will highly recommend getting some ANR glass for this setup.

Micro etched acrylics

Micro etched acrylics

4x5” Anti Newton Glass from Knight Optical

4x5” Anti Newton Glass from Knight Optical

Gently Place the 4x5” sheet film on the Anti Newton glass and align with some cotton gloves to prevent fingermarks on the film. If you have 4x5” sheet film that has some curl in the corners you might want to add another Anti-Newton glass on top of the sheet film for better flatness.

_DSC0112.JPG
_DSC0112.JPG

Gently remove the 4x5” sheet of film with a piece of paper so you do not need to lift up the piece of Anti-Newton glass from the holder once you have photographed the film.

_DSC0114.JPG
Sony Tethered Shooting

Sony Tethered Shooting

  • Negatives (.ARW/.ARQ)) converted in Negative Lab Pro. (Linear - Flat or LAB - Standard)

  • Opened as .tiff in Photoshop (Shape Tool to fill the negative cut-out)

  • Adobe Lightroom CC Classic for all other edits on the .tiff file

When I digitize the 4x5” negative with the gear I am using I do notice some vignetting that requires adjustment in Lightroom although the camera profile is active. For B&W and Color slides this is not a big issue but the amount of post-crop vignetting / camera profile adjustment is work in progress while writing this blog post.

4x5” DSLR Scan

4x5” DSLR Scan

4x5” DSLR Scan (NLP is not used for Slide film)

4x5” DSLR Scan (NLP is not used for Slide film)


The area where I am having some struggles as of now is 4x5” color negative conversion. Due to an issue in light falloff in the corners of the film there is a siginficant color and light shift after the conversion in NLP. I am assuming this is a combination of the Light source and lens distance from the film plane creating vignetting that will affect the NLP (Negative Lab Pro) Converting.

Kodak Portra 400 4X5” Converted in Negative Lab Pro (Frontier LUT) and edited in Lightroom.

Kodak Portra 400 4X5” Converted in Negative Lab Pro (Frontier LUT) and edited in Lightroom.

Kodak Portra 400 4X5” Converted in Negative Lab Pro (flat profile, unedited)The film is showing some falloff in light and color shift in the corners after the NLP converting.

Kodak Portra 400 4X5” Converted in Negative Lab Pro (flat profile, unedited)

The film is showing some falloff in light and color shift in the corners after the NLP converting.

Kodak Portra 400 4X5” After some editing in Lightroom. There is still some signs of the falloff.

Kodak Portra 400 4X5” After some editing in Lightroom. There is still some signs of the falloff.

Meanwhile investigating this I am still using my Epson V700 (Fluid Mount) for all 4x5” color negatives.

I wonder if another lens like a 50mm macro will improve this as the lens is closer to the negative, or maybe shooting multiple closeups and stitching will make this better ?


  • Digitizing Type 55 Negatives.

I have a limited amount of Polaroid Type 55, the Type 55 Negative will not fit the 4X5” Holder from Negative Supply so I have acquired to pieces of Anti newton Glass from Kienzle. This will let me digitize the Type 55 negative.

Kienzle ANR on the Negative Supply Light Source 5x7

Kienzle ANR on the Negative Supply Light Source 5x7

_DSC0119.JPG
Sony Tether

Sony Tether

Polaroid Type 55 Negative Converted in Negative Lab Pro / Adobe Lightroom

Polaroid Type 55 Negative Converted in Negative Lab Pro / Adobe Lightroom